Thursday, 31 March 2011

How I turned my friend's lawn into a vegetable garden Part Three

The plot is nearly complete!!
Along the back edge we decided to make a marrow/courgette heap. These Cucurbits love plenty of organic matter such as manure. Here I am copying what I used to do as a child on the farm, when I was able to grow massive marrows thanks to the unlimited supply of cow manure on site.
So here I first of all forked the soil over, removing any perennial weeds and turning other weeds back into the soil. I then made a big pile of the horse manure and covered this with plenty of soil.
This can be seen at the far end behind the rhubarb plant.
In due course, when all risk of frost is past, we will make pockets of soil in the top of the heap and sow the marrow and courgette seeds. It will be necessary to protect these from slugs as the seedlings show through. It may be easier to sow the seeds in pots indoors first, and plant them out when the plants have a few leaves and have been "hardened off" outside for a few days (this is the process of acclimatizing them to the outdoor temperature before planting).
The vegetable plot is nearly complete!

Tuesday, 29 March 2011

How I turned my friend's lawn into a vegetable garden Part Two

 The next stage in this project was to put up the cane "wigwams" for the runner beans when they are eventually sown. (It is too early to sow these yet - in this part of the country we are far from clear of possible frosty nights, that would be fatal to young bean plants).

In the far right hand corner of the plot can be seen a rhubarb plant. This was kindly donated by a neighbor, and has been planted along with some of the fairly well rotted manure we gathered the day before - that is what is in the various sacks dotted around the lawn!


So the plot is really shaping up now. We have left the lavender plant in the bottom right hand corner. This will attract the bees, that will be good for ensuring pollination of the runner bean flowers. Without plenty of bees, the bean crop will fail - so I have also suggested that a sweet pea is planted at each wigwam. Not only will this be pretty and fragrant; again, it will encourage bees to the site. 

The next stage will be to decide what else will be planted and sown this year. 

Sunday, 27 March 2011

Turning a lawn into a vegetable garden!

"I'd really love to be able to grow my own vegetables," she said. "OK", said I, and with hindsight somewhat rashly. "I'll come over next March and dig a vegetable patch in your lawn - you just show me where you want it, keep me fed and watered, and I'll do the rest."
(I would add that said friend cannot do much digging and bending - hence needing me for this heavy work). So last week there I was, looking at this large patch of grass and wondering where to start!!

First we brought out a compass and decided where the sun was going to rise and set in relation to our new plot. It is a good idea if possible to have the rows running North to South so that both sides get maximum benefit from the sun.
Having thus decided upon the best site for our vegetables, we marked out a rectangular plot running roughly West/East with canes laid upon the ground. Then I set to work.
My first joyful discovery was that the ground was beautifully light and sandy, making work very much easier. So I set to with a fork and spade and skimmed off the top layer of grass and moss and weeds. I stacked these turves upside down in an out of the way corner at the bottom of the garden, making a heap. Over the next few months this should rot down well and can be dug back into the plot perhaps as early as next year.
The downside of such sandy soil is that it will dry out very easily in summer, and is readily leached of nutrients. So before we did any more, we went out in search of horse manure. Fortunately my friend lives in a very "horsey" area, with plenty of riding stables, and it did not take us long to find one such establishment only too willing to let us take away as many sack loads as we could manage. And so we came back triumphantly with about sixteen sacks, some well rotted, some quite fresh.
And here you see the trench I then dug where we will sow the runner beans this year. This I filled with some of the fresh horse manure, and covered it with soil. The beans will love this - they are hungry for nutrients and the manure will also help hold moisture if we have a hot dry summer (wish!).

That was all an afternoon's work, and we felt well pleased with progress - but tomorrow will be another day.....

Saturday, 6 November 2010

Raised Beds - To Dig or not to Dig

So many people are up at the allotment whenever the weather allows in this mild and wet autumn, digging and digging and no doubt suffering many bad backs along the way. I never have to seriously dig my plot! And neither do any plotters who have made raised beds for all their cultivation needs.

It seems to have taken the gardening fraternity a hugely long time to realise that the main reason for digging is to break up the soil compacted by continually walking over it in the first place. Classic books of my childhood such as Middleton's Gardening Guide (2/6d in old money or 12.5 pence in new - paid for out of hard earned pocket money!!) and Arthur Hellyer's The Illustrated Gardening Encyclopedia have no mention whatsoever of the technique of raised beds and both devote quite some space to telling the reader exactly how to dig, and double dig!

OK when we took over the plots originally they did need digging - to clear the area of the rough grass that was the initial field. I have described before in this blog how I laid out my plot in the first place, and this includes several raised beds - simply cut out of the plot by creating sunken paths in between. No need to buy wooden boarding at all. The beds are of a width that enables me to work them by reaching across from each side, never therefore having to tread on the soil itself. And along the paths I spread wood chippings that I have made myself from all my wood prunings saved throughout the year (having inherited a very useful chipping machine). This means I can walk along the paths and reach the beds in all weathers when other plotters cannot get on to their allotment for the mud! And weeds on the pathways are totally suppressed.

And this week I have been up there smartening the paths again, spreading more chippings and generally tidying up. Adding my own compost, fresh manure or rotted manure on top of the soil according to the planned use of the area next year helps to maintain the height of the raised beds above the paths and only needs a light forking in when I am ready to sew or plant or whatever. And harvesting roots etc loosens and works the soil with minimum effort. So - NO DIGGING!

Thursday, 4 November 2010

A Toad in the Netting

This warm November weather is quite amazing. Yesterday I spent several hours up at the plot generally tidying, weeding and harvesting, with just a thin tee shirt and summer weight trousers. I'm very glad I went up there because I found a toad caught in the netting around the brussel sprouts. He seemed exhausted from struggling to get free. I carefully disentangled him, gently put him amongst the strawberries where I knew I would not be working, and he seemed to recover well and crawl away beneath the leaves.
This summer I ran out of space for the courgettes, marrows and squashes, so I covered one of the paths across the plot with black cloth (the sort used to smother weeds) and piled manure onto it before covering the resulting heap with soil into which I planted the cucurbits. They thrive on this treatment - the heap becomes warm as it rots beneath the plants, and they are provided with a rich growing medium, which they love, and it doesn't dry out in the driest of summers. The benefit now at the end of the year is that I have a plentiful supply of well rotted manure which I am using to top dress all around the plot where needed - for example on the asparagus bed, around the flowers in the flower bed, and around the cabbages, sprouts, spinach, etc. which i am still harvesting.


I am well pleased with my handiwork. The plot is beginning to look very neat and tidy, ready for the quieter winter months ahead, and there is still an amazing amount of produce to see us through the next few dreary winter months.

Tuesday, 2 November 2010

a plate of vegetarian home grown food

How satisfying it was to sit down tonight to a plate of home grown vegetables, all gathered earlier today straight from my allotment, apart from the small spuds that were out of storage! (oh and the cheese on the cauliflower was actually from Sainsburys but everything else I grew myself).

Sunday, 31 October 2010

Self sufficiency


These photos show just how busy my allotment plot still is even at this time of year, when many around me have cleared their plots and started digging in manure before leaving fallow for the winter.
What a waste of space!
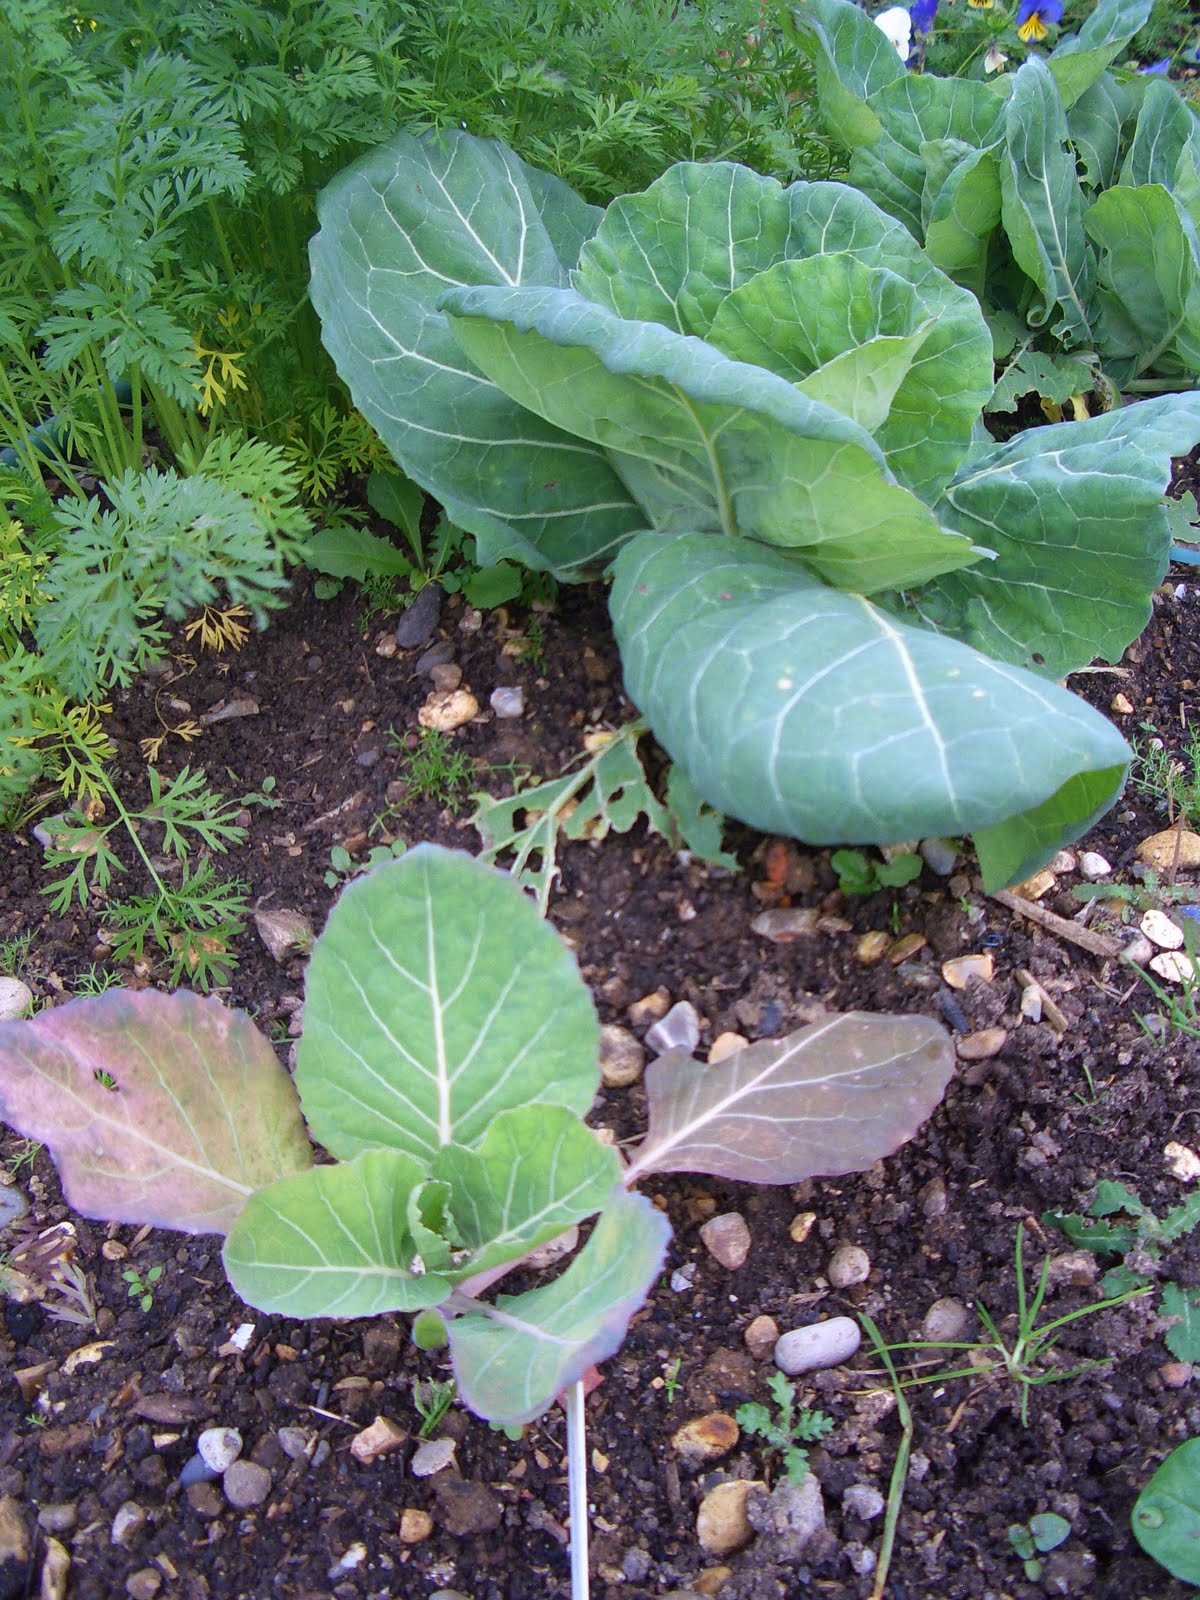
The brussel sprouts are swelling up well and we had our first meal off them last week, with many more pickings to come over the next month or so. By that time those spring cabbages will be ready for eating, and I have plenty of red cabbages to last all through the winter as well. We have already cooked plenty of red cabbage and frozen it for use later when other fresh vegetables may be scarce.
The lettuce is also growing well and providing some welcome winter salad.
And those carrots I sowed only 4-5 weeks ago are producing the first edible thinnings - with the promise of some lovely roots to follow soon.


But these are just a few of the vegetables I am harvesting at the moment. To add to the list are spinach, swiss chard, parsnips, beetroots, leeks, celeriac, jerusalem artichoke, and a little late fennel that the frost didn't catch! Not bad for a stony field that 3 years ago no one imagined would come to anything at all!